Common DIY Electrical Mistakes Homeowners Should Avoid
You might think you’re saving money by tackling electrical projects yourself, but DIY electrical work can lead to dangerous and costly mistakes. From overlooking crucial permits to mismatching wire types, homeowners often compromise safety when attempting their own electrical repairs. Whether you’re planning to install a new outlet or upgrade your circuit panel, understanding these common pitfalls could mean the difference between a successful project and a potential disaster.
Skipping Essential Safety Permits and Inspections
Although obtaining permits and scheduling inspections may seem like bureaucratic hassle, skipping these crucial safety steps can lead to dangerous electrical installations and legal consequences, advises Geremey Engle, owner of Ellingwood Pro, a home inspector in Winchester, Va.
Local electrical permits ensure your work meets current safety codes and standards, protecting you and future homeowners from fire hazards and electrical malfunctions.
When you bypass required permits, you risk invalidating your homeowner’s insurance, facing fines from local authorities, and creating potential liability issues during home sales.
Professional inspections catch wiring mistakes that could cause shorts, overloads, or fires. They’ll verify proper wire sizing, grounding, circuit protection, and connection quality.
If you’re planning electrical work beyond simple fixture replacements, contact your local building department first. The small investment in permits and inspections far outweighs the risks of non-compliance.
Incorrect Wire Sizing and Circuit Load Calculations
When you’re planning electrical circuits, choosing the correct wire size is critical for preventing overheating and fire hazards. You’ll need to calculate the total amperage load of all devices on the circuit and match it with the appropriate wire gauge. Don’t assume that one size fits all – different appliances require different amperages.
| Wire Gauge (AWG) | Max Amperage | Common Uses |
|---|---|---|
| 14 | 15 amps | Lighting, outlets |
| 12 | 20 amps | Kitchen, tools |
| 10 | 30 amps | HVAC, heavy appliances |
Remember to factor in the 80% continuous load rule – don’t load any circuit beyond 80% of its rated capacity. For example, a 20-amp circuit shouldn’t exceed 16 amps of continuous load. Using undersized wires can lead to dangerous voltage drops and potentially start fires within your walls.
Improper Grounding and Bonding Techniques
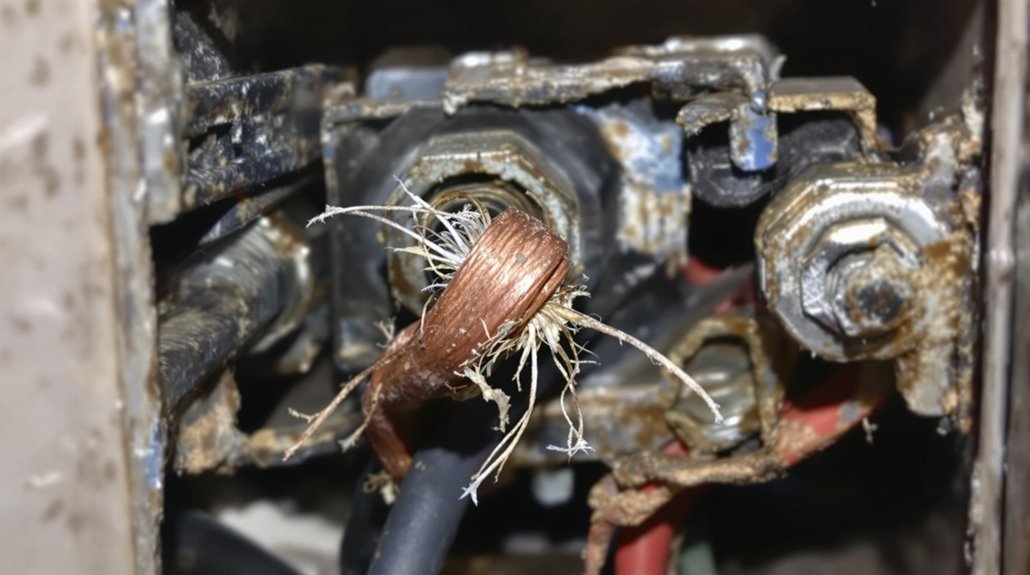
Because proper grounding serves as your electrical system’s vital safety net, incorrect grounding techniques can create deadly shock hazards.
You’ll need to ensure every metal component in your electrical system connects to a proper ground path, including outlet boxes, switch plates, and appliance frames.
Common grounding mistakes you’ll want to avoid:
- Failing to connect the grounding wire to the grounding bar in your main service panel or subpanel
- Using the neutral bar instead of the ground bar for equipment grounding conductors
- Neglecting to install a ground rod or failing to bond it correctly to your system
Don’t rely on water pipes for grounding, as plastic sections can interrupt continuity.
Always verify ground connections with a multimeter before energizing any circuit you’ve worked on.
Unsafe Junction Box Modifications
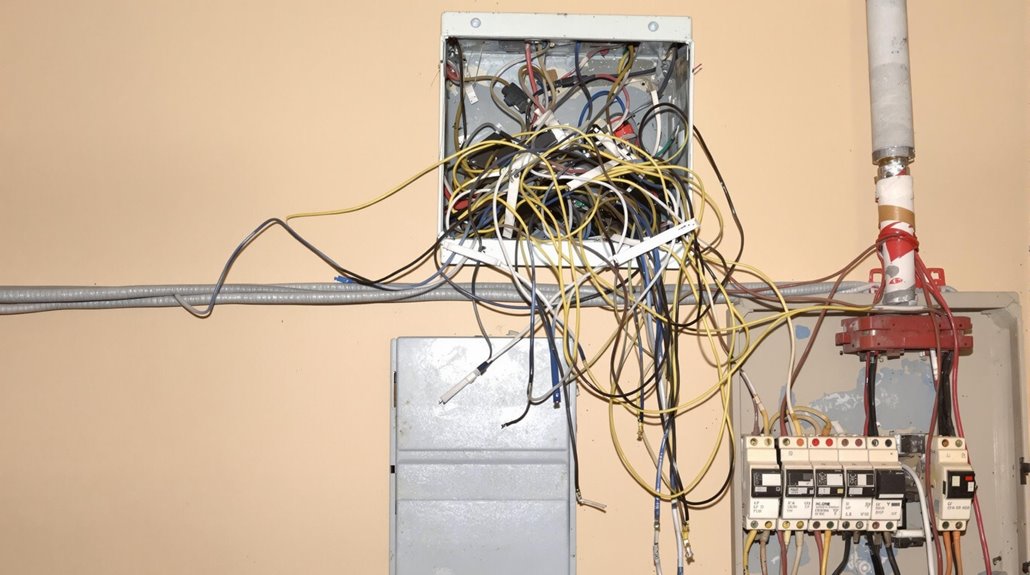
Making unsafe modifications to junction boxes can create fire hazards and code violations in your home’s electrical system.
Never overfill boxes with too many wires or connections, as this can lead to overheating and wire damage. You’ll need to follow the box fill calculations specified by the National Electrical Code.
Don’t try to expand a junction box by cutting additional holes or removing knockouts improperly. This compromises the box’s structural integrity and fire rating.
If you need more space, install a larger box or add an approved extension. Always ensure your junction boxes remain accessible – don’t cover them with drywall or build them into enclosed spaces.
Keep covers securely fastened and use appropriate cable clamps where wires enter the box to prevent strain on connections.
Mixing Wire Types and Gauges
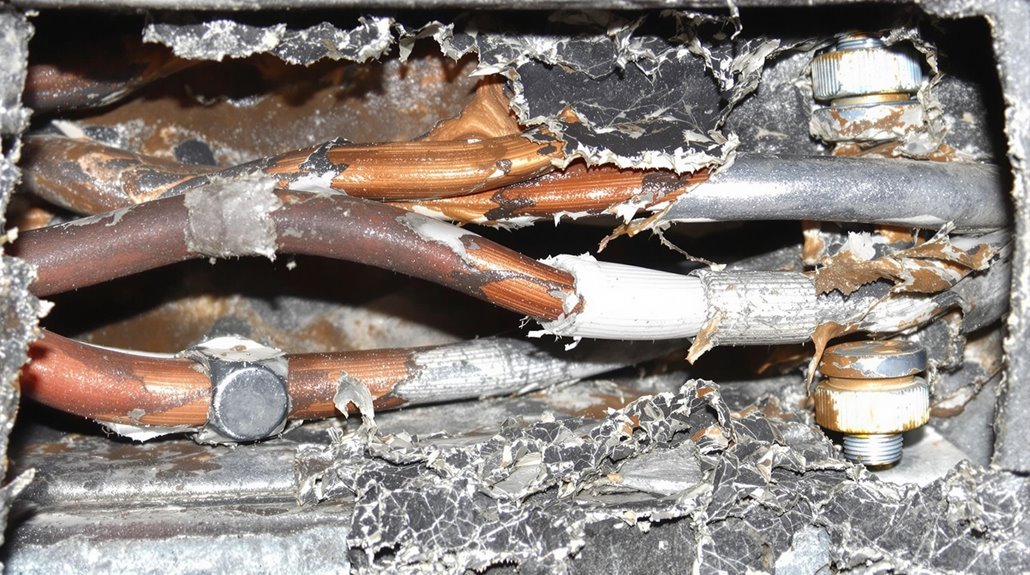
Junction box safety leads directly to another common DIY electrical hazard – improper mixing of wire types and gauges.
When you’re working on electrical projects, it’s crucial to maintain consistent wire specifications throughout your circuits. Mixing different wire types and gauges can create dangerous situations that put your home at risk.
Here’s what you need to avoid:
- Connecting aluminum and copper wires directly without proper connectors, as this combination can lead to loose connections and potential fire hazards.
- Using undersized wires that can’t handle the circuit’s amperage, causing overheating and possible wire failure.
- Mixing solid and stranded wires in the same connection point, which can result in unreliable connections and increased resistance.
Always check your local electrical codes and use the correct wire specifications for each application.
Poor Outlet and Switch Installation Methods
While DIY electrical projects can save money, improper outlet and switch installation remains one of the most dangerous mistakes homeowners make. You’ll risk fire hazards and shock if you don’t secure wire connections properly or fail to maintain correct polarity.
Never rush through installation or leave exposed wires. Make sure you strip the correct amount of insulation and secure all connections under terminal screws rather than using push-in holes.
You’ll also need to ensure the outlet box is flush with the wall surface and properly grounded.
Don’t forget to test each outlet and switch after installation. If you notice any unusual warmth, buzzing sounds, or loose connections, disconnect power immediately and address the issue.
When in doubt about proper installation techniques, it’s always safer to consult a licensed electrician.
Conclusion
Don’t let your DIY enthusiasm turn your home into a powder keg waiting to explode. You’ll save money and time by doing electrical work correctly the first time, following proper permits, inspections, and safety protocols. Whether you’re installing outlets or upgrading circuits, remember that one wrong move can be as dangerous as lighting a match in a gunpowder factory. Always prioritize safety over convenience.