Did you know that the average homeowner spends $200-300 per bar stool when buying new ones? You can transform your tired, dated bar stools into custom showpieces for less than $50 each with a DIY makeover. Whether you’ve scored some secondhand finds or want to breathe new life into your existing seating, a weekend project can turn those eyesores into Instagram-worthy pieces that’ll have friends asking, “Where did you get those?” Let’s explore how you can tackle this budget-friendly transformation.
Supplies and Tools You’ll Need
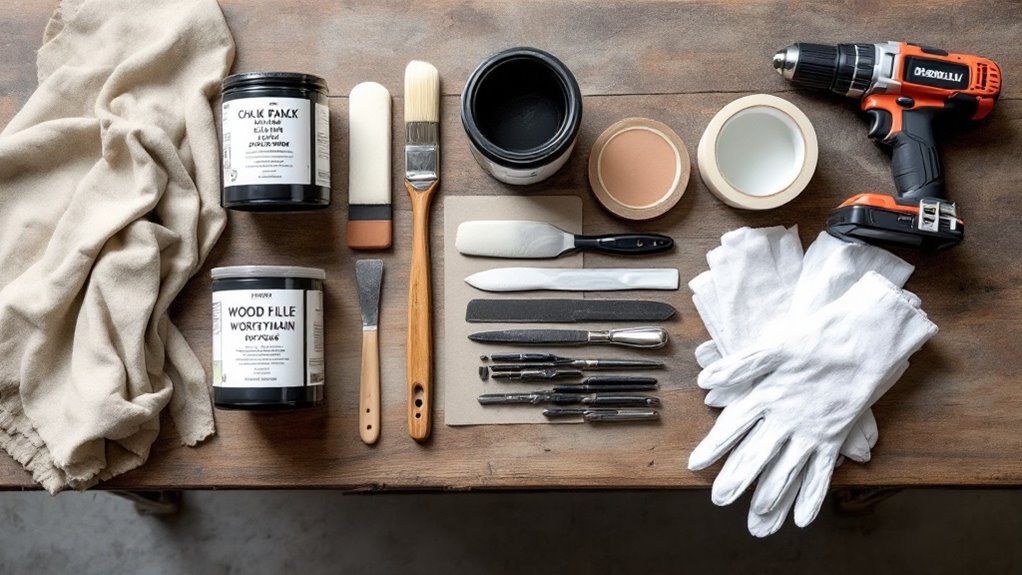
Transforming old bar stools into stunning statement pieces doesn’t require a master craftsman’s workshop.
You’ll need basic supplies that won’t break the bank – expect to spend $50-75 total for a set of four stools.
Start with your cleaning arsenal: degreaser, steel wool, and microfiber cloths.
For the makeover magic, gather medium-grit sandpaper, wood primer, your choice of paint (chalk paint works wonders!), and a protective topcoat.
Don’t forget those must-have tools: a screwdriver, paint brushes in 2-inch and 4-inch sizes, and a foam roller.
Ready to tackle those wobbly legs?
Grab wood glue, a rubber mallet, and measuring tape.
Consider adding some personality with decorative elements like stencils or new cushions – because who says bar stools can’t dress to impress?
Preparing Your Bar Stools for Makeover
Before you plunge into the fun part of painting and decorating, you’ll need to prep those tired bar stools for their glamorous transformation. Think of it as giving your stools a spa day before their big makeover debut!
Start by removing any cushions or seats that unscrew from the base. Next, give your stools a thorough cleaning with warm, soapy water to remove built-up grime and dust. Don’t skip this step – even pristine-looking stools can harbor invisible dirt that’ll ruin your finish.
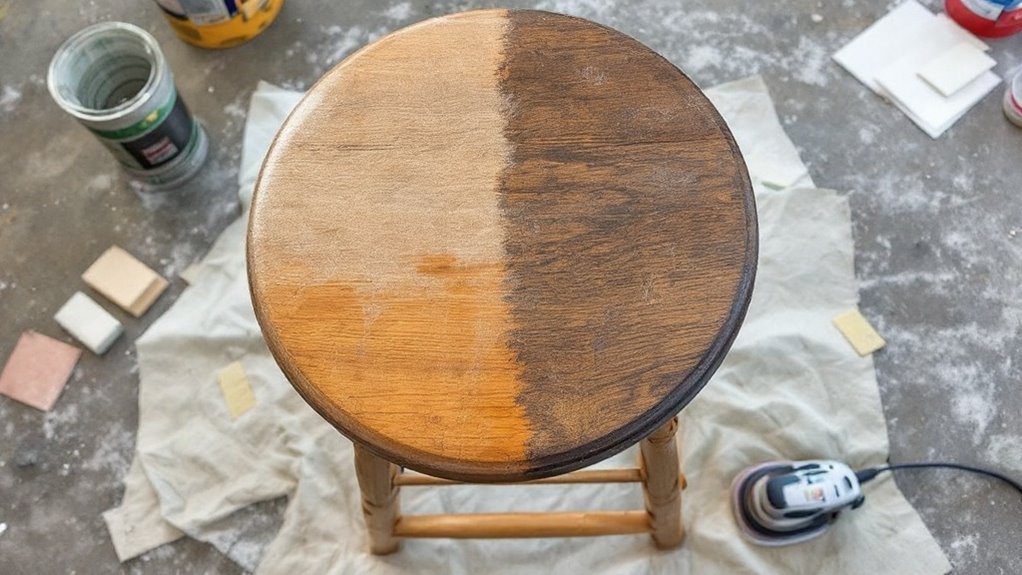
Got stubborn stains or old varnish? Sand the entire surface with 120-grit sandpaper, then graduate to 220-grit for smoothness.
Wipe away all dust with a tack cloth, and you’re ready for primer. Remember, proper prep work is like laying a red carpet for your paint job – it makes all the difference.
Painting or Staining Techniques
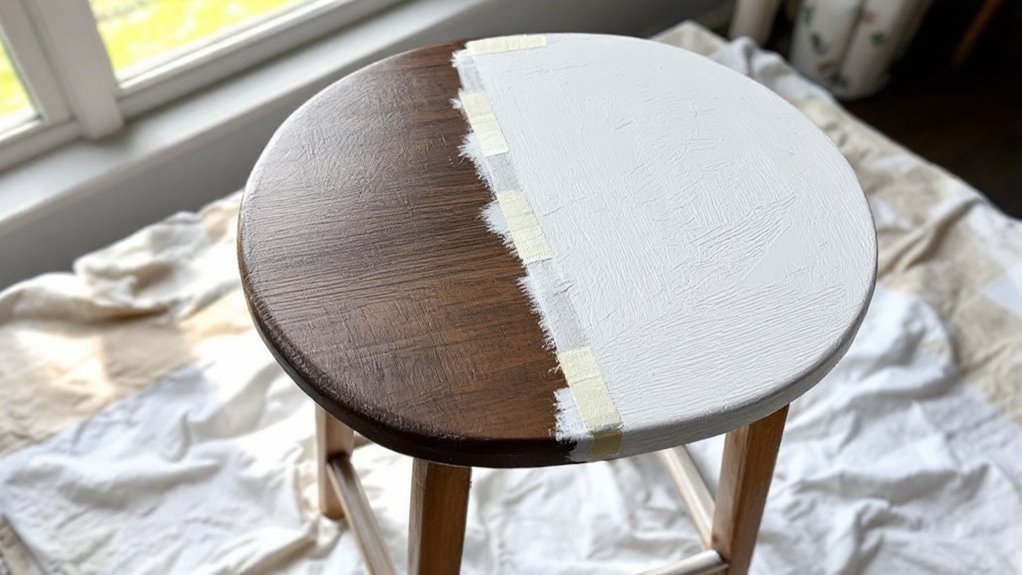
Now that your stools are prepped and pristine, it’s time to make the magic happen with paint or stain! For paint, you’ll want to choose an oil-based or chalk variety ($15-25 per quart) that’s specifically formulated for furniture.
Ready to channel your inner Picasso? Start with thin, even coats using a high-quality foam roller or brush ($8-12). You’ll need 2-3 coats for solid coverage, letting each layer dry completely – patience is your best friend here!
If you’re going the stain route, apply pre-stain wood conditioner ($10) first to prevent blotching.
Use a lint-free cloth to work the stain ($12-20) into the grain in smooth, overlapping strokes. Think of it like giving your stool a spa treatment – gentle, methodical, and thorough.
Reupholstering the Seat Cushions
The comfiest part of your bar stool makeover starts with choosing the right upholstery fabric ($15-30/yard).
Think durable yet stylish – maybe a sleek velvet that’ll survive countless cocktail spills, or a hardy tweed that’s tougher than your mother-in-law’s meatloaf?
Remove the old fabric and padding first, keeping the existing staples for reference.
You’ll need about 1/2 yard per seat cushion, plus 2-inch foam ($8-12/piece) and batting ($5/yard).
Pro tip: always lay your fabric pattern straight, unless you’re going for that “had one too many” look!
Use a staple gun ($15) to secure layers in this order: foam, batting, then fabric.
Work from the center outward, pulling fabric taut with 45-degree folds at corners.
Don’t skimp on staples – they’re like tiny soldiers holding your masterpiece together.
Finishing Touches and Protective Coatings
With your seat cushions looking fabulous, let’s protect your handiwork with some finishing touches that’ll keep your bar stools looking fresh through countless happy hours.
Think of these final steps as giving your stools their armor against daily wear and tear.
- Apply two thin coats of water-based polyurethane ($12-15) to all wooden surfaces, waiting 2 hours between coats.
- Spray Scotchgard fabric protector ($8) on cushions from 6 inches away, ensuring even coverage.
- Add felt pads ($5) to stool legs – your floors will thank you later!
- Consider a clear silicone sealer ($6) around cushion edges where fabric meets wood.
Haven’t these stools come a long way from their humble beginnings?
A final tip: Keep a can of protectant handy for touch-ups every six months.
Conclusion
You’ve breathed new life into those tired old bar stools, and now they’re ready to be the stars of your kitchen. Isn’t it ironic that the most neglected pieces often become showstoppers? For less than $50 in supplies, you’ve created custom seating that looks like it came from a high-end boutique. So grab a drink, pull up your newly fabulous stool, and toast to your DIY success!