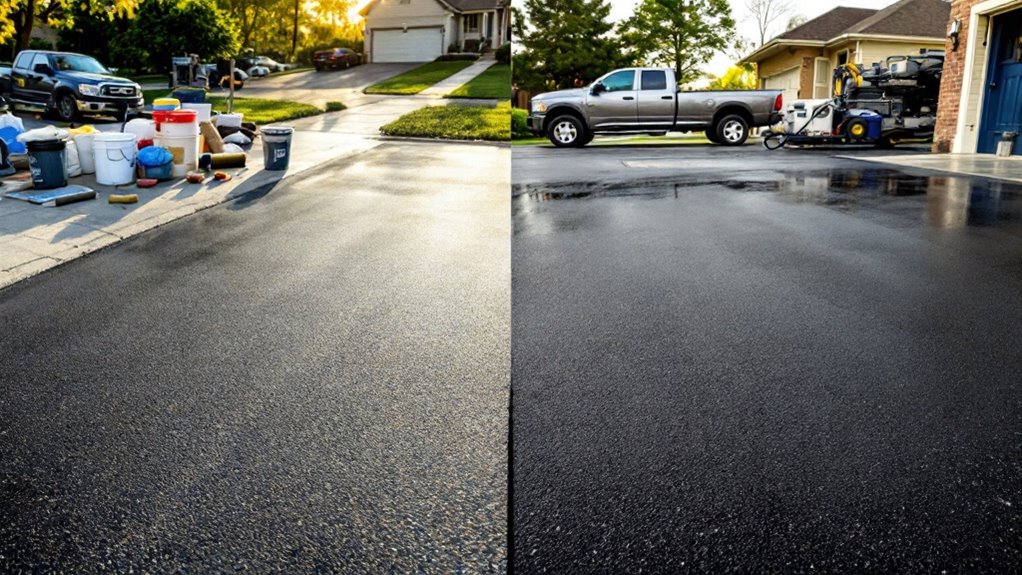
Standing at your driveway, staring at those pesky cracks and fading sealer, you’re caught between two paths: grabbing a DIY bucket or calling the pros. Like choosing between being your own chef or dining at a restaurant, each option serves up its own flavor of benefits and challenges. You’re looking at spending around $180 for DIY materials versus $510-$1,050 for professional service on a typical 600 sq ft driveway, but the real question isn’t just about money – it’s about what you’ll get for those dollars.
Understanding Driveway Sealing Basics

When it comes to protecting your driveway from the elements, sealing is like giving your pavement a protective shield against its worst enemies – water, UV rays, and chemical spills.
Think of it as sunscreen for your concrete or asphalt, preventing those pesky cracks and potholes from forming.
You’ll typically need to seal your driveway every 2-3 years, though this varies based on your climate and usage.
The process involves cleaning the surface, repairing existing damage, and applying a specialized sealant that costs between $0.10 to $0.25 per square foot for materials.
Ever wondered what happens if you skip this maintenance step?
Let’s just say your driveway might end up looking like a jigsaw puzzle gone wrong.
The secret to long-lasting pavement isn’t magic – it’s consistent sealing and proper timing.
Cost Comparison: DIY Vs Professional Services
Although professional driveway sealing might make your wallet a bit lighter, comparing it with DIY costs reveals some eye-opening numbers.
When you factor in materials, tools, and time investment, the choice isn’t quite as clear-cut as you might think.
- Professional services typically range from $0.85 to $1.75 per square foot, meaning a standard 600 sq ft driveway costs $510-$1,050.
- DIY materials run about $0.30 per square foot for sealer ($180 for 600 sq ft), plus $100-$150 for tools and supplies.
- Hidden DIY expenses include cleaning solutions ($30-$50), crack filler ($25-$40), and protective gear ($40-$60).
You’ll save roughly $200-$600 going the DIY route, but remember: your weekend warriors’ special might need redoing sooner than a pro job.
Time to weigh those dollars against your precious weekends!
Required Tools and Materials for DIY Sealing
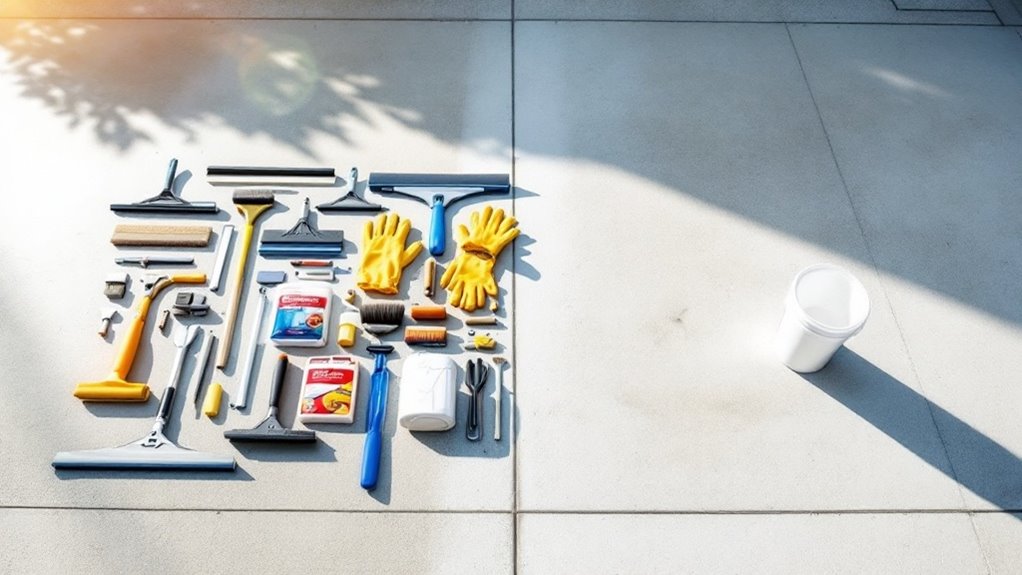
A well-stocked DIY arsenal is your ticket to a successful driveway sealing project.
You’ll need a sealer squeegee (about $20), a push broom ($15-25), and a sturdy wire brush ($10) to get started.
Don’t forget your protective gear – work gloves, safety goggles, and old clothes you won’t mind sacrificing to the sealing gods!
The star of your supply list is the driveway sealer itself, which runs $25-45 per 5-gallon bucket.
You’ll also need crack filler ($8-15), a caulking gun ($5), and cleaning supplies like degreaser ($10-15).
Want to make the job easier? Grab a power washer – rent one for about $50/day if you don’t own one.
For those pesky edges, pick up some masking tape and cardboard to protect your landscaping and garage floor from unwanted sealer splatter.
Professional Equipment and Technology
Professional contractors roll up with three key pieces of equipment that’ll make your DIY supplies look like toys from a sandbox.
These heavy-duty machines pack serious sealing power and precision that’s hard to match with standard consumer tools.
- Industrial-grade spray systems ($3,000-$5,000) with adjustable pressure controls that guarantee even coverage and penetration up to 50% deeper than hand-applied sealant
- Commercial squeegees and brushes with hydraulic extensions ($800-$1,200) that can cover 2,000 square feet per hour
- Hot rubber crack filling machines ($2,500+) that heat material to exactly 375°F for perfect adhesion
You might think you’re saving money with DIY, but when you see these pros wielding equipment worth more than a used car, you’ll understand why their results look showroom-perfect.
Time Investment and Labor Considerations
Beyond those expensive tools and machines, the real difference between DIY and professional driveway sealing comes down to sweat equity. You’ll spend 6-8 hours on a typical two-car driveway, while pros knock it out in 2-3 hours with their crew. Ever tried doing squats for half a day? That’s basically what you’re signing up for!
| Task | DIY Time | Pro Time |
|---|---|---|
| Cleaning | 2-3 hrs | 45 min |
| Repairs | 1-2 hrs | 30 min |
| Sealing | 3-4 hrs | 45 min |
The time investment isn’t just about the actual sealing – you’ll need to clean the surface thoroughly, make repairs, and wait between coats. Plus, there’s the shopping, preparation, and cleanup to take into account. If you’re not afraid of a weekend warrior workout, DIY might be your path.
Quality of Results and Common Mistakes
While professional sealers typically deliver consistent, streak-free results, DIY projects can be hit-or-miss depending on your attention to detail.
Think of it like frosting a cake – one wrong move, and you’ll end up with an uneven finish that’ll make you cringe every time you pull into your driveway.
- Over-application is the most common DIY mistake, leading to unsightly puddles and peeling that’ll have your driveway looking like a snake shedding its skin.
- Inadequate surface preparation often results in trapped moisture and debris, causing premature seal failure within months.
- Improper mixing techniques can create streaky applications that’ll give your driveway that dreaded zebra-stripe effect.
Weather Factors and Seasonal Timing
Selecting the right weather conditions and time of year for driveway sealing can make or break your project’s success. Think of your driveway as a temperamental artist – it needs just the right conditions to perform its best work!
You’ll want to target temperatures between 50-80°F, with clear skies and low humidity. Spring and fall are your prime sealing seasons, but summer can work if you avoid those scorching afternoon hours.
Watch that forecast like a hawk – you’ll need at least 24 hours of dry weather before and after application. Moisture is your worst enemy here. Even morning dew can ruin a fresh seal coat, so timing is everything.
Professional crews usually start early morning jobs around 8 AM, when the dew’s dried up but before the day heats up too much.
Long-Term Durability and Maintenance
Although a properly sealed driveway can last 2-5 years, the difference between DIY and professional work often shows up in the long run.
You’ll notice the variations in durability when weather and traffic take their toll on your investment.
- Professional sealers typically use commercial-grade products that cost $45-75 per 5-gallon bucket, compared to DIY options at $25-35 – and yes, you can really tell the difference after a harsh winter!
- Those pro techniques for proper thickness and even application? They’re like getting a perfect cake frosting – it’s harder than it looks, and the pros make it look easy.
- Your maintenance schedule will likely double with DIY work, requiring touch-ups every 1-2 years versus 3-4 years with professional sealing, which adds up in both time and money.
Insurance and Warranty Coverage Options
Beyond the durability differences, insurance and warranty protection can be a game-changer when choosing between DIY and professional driveway sealing.
While your local hardware store’s sealant might come with a basic 1-year product warranty, professional contractors often provide extensive coverage for 2-5 years on both materials and workmanship.
You’ll want to take into account liability coverage too.
Professional contractors carry insurance that protects you if anything goes wrong during the sealing process – think accidental spills on your prized petunias or an unexpected reaction with your driveway’s surface.
DIY warriors, on the other hand, might’ve to rely on their homeowner’s insurance, which typically won’t cover DIY mishaps.
Most reputable contractors offer transferable warranties that can even boost your home’s resale value.
Now that’s what we call sealing the deal!
Environmental Impact and Safety Concerns
When considering the environmental footprint of driveway sealing, you’ll face a stark difference between DIY and professional approaches.
While pros typically use commercial-grade materials that meet EPA standards, DIY sealers mightn’t be as eco-friendly. Ever wondered why some sealants have that strong chemical smell?
- Professional crews use containment systems to prevent chemical runoff, while DIY projects risk sealer seeping into groundwater or storm drains.
- Professional-grade sealants release fewer VOCs (Volatile Organic Compounds) compared to consumer-grade products, which can emit up to 3x more harmful fumes.
- Pros have proper protective equipment and disposal methods, whereas DIY enthusiasts often lack safety gear and might improperly dispose of leftover materials.
Conclusion
While DIY driveway sealing might seem as tempting as a Model T’s bargain price tag, your choice ultimately depends on your priorities. You’ll save money upfront with DIY ($180 vs. $510-$1,050), but professional services offer superior results and peace of mind. If you’re handy and patient, DIY could work, but if you want lasting quality and warranty protection, professional sealing’s your best bet. Consider it an investment in your home’s future.