Did you know that a well-designed pool enclosure can extend your swimming season by up to four months? You’re probably thinking it’ll cost a fortune, but building your own DIY pool enclosure isn’t rocket science – it’s more like constructing a giant umbrella for your pool. With just $2,500 to $4,000 and some basic handyman skills, you’ll be amazed at how you can transform your backyard oasis into a year-round swimming paradise.
Planning Your Pool Enclosure Design
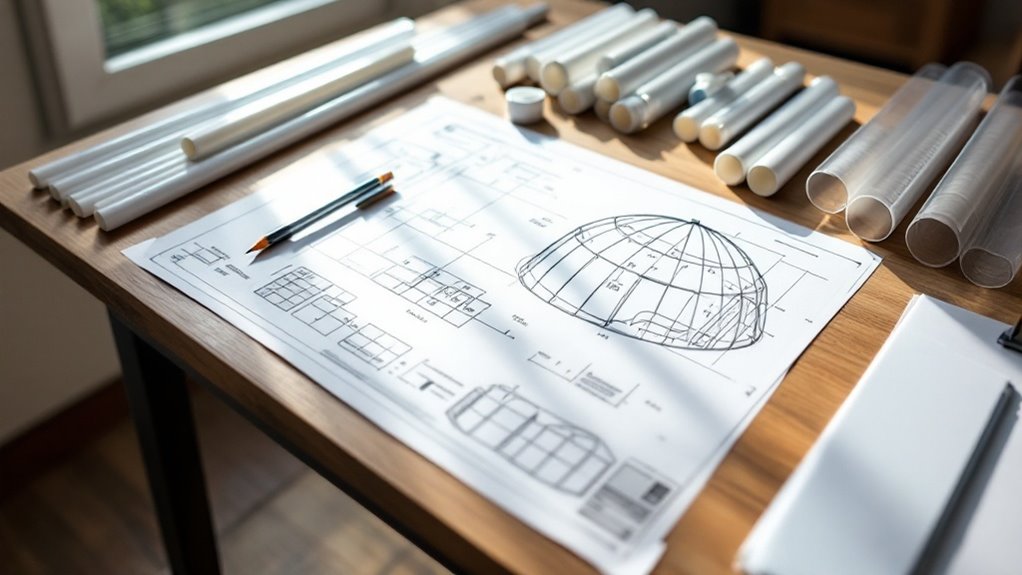
Before diving into the construction phase, you’ll need to carefully map out your pool enclosure’s design to avoid costly mistakes down the road.
Start by measuring your pool’s dimensions and adding at least 3 feet of clearance on all sides for comfortable movement and maintenance access.
Consider your climate when choosing materials – PVC pipes and heavy-duty greenhouse plastic might set you back only $300-500, while aluminum framing with polycarbonate panels could cost $1,200-2,000.
Remember, you’re not building Fort Knox here, just a sturdy shield against leaves and debris!
Think about height requirements too. You’ll want enough vertical space to stand comfortably (minimum 7 feet) and account for proper drainage angles.
Don’t forget to check local building codes and HOA regulations – nobody likes surprise visits from permit inspectors!
Required Materials and Tools
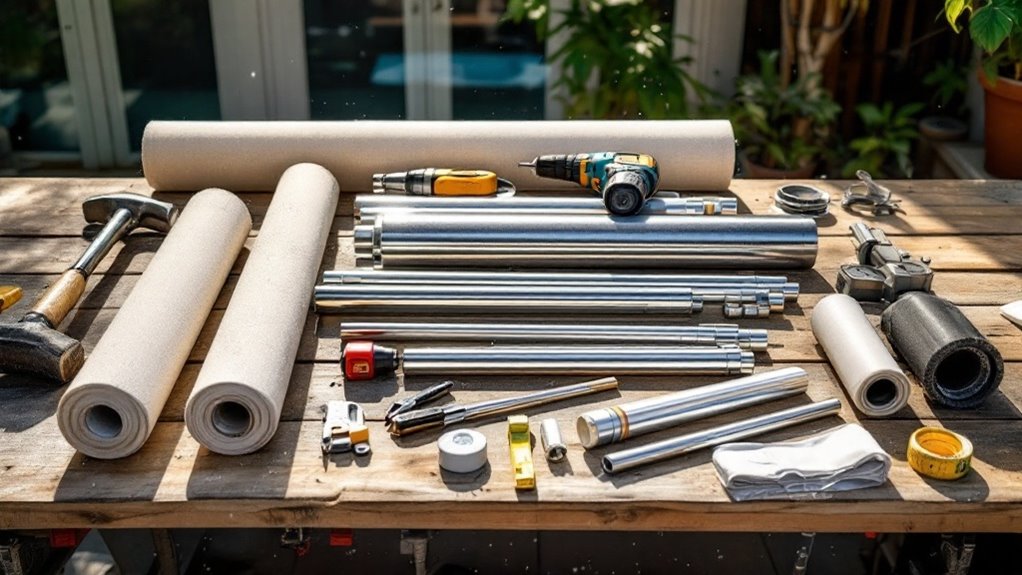
While gathering your DIY pool enclosure materials might seem challenging, you’ll need surprisingly few key components to get started. The foundation of your project requires galvanized steel pipes ($15-20 each), UV-resistant polyethylene sheeting ($2-3 per square foot), and heavy-duty clamps ($5-8 per pack).
Your toolbox should include a power drill (who doesn’t love an excuse to use power tools?), measuring tape, pipe cutter, and a level.
Don’t forget safety gear – you’ll want sturdy gloves and safety glasses to protect yourself while working with metal and plastic materials.
For fastening everything together, stock up on self-tapping screws, zip ties, and weather-resistant duct tape. Think of these as the project’s “glue” – they’ll keep your enclosure standing strong through wind and rain.
Calculating Cost and Budget
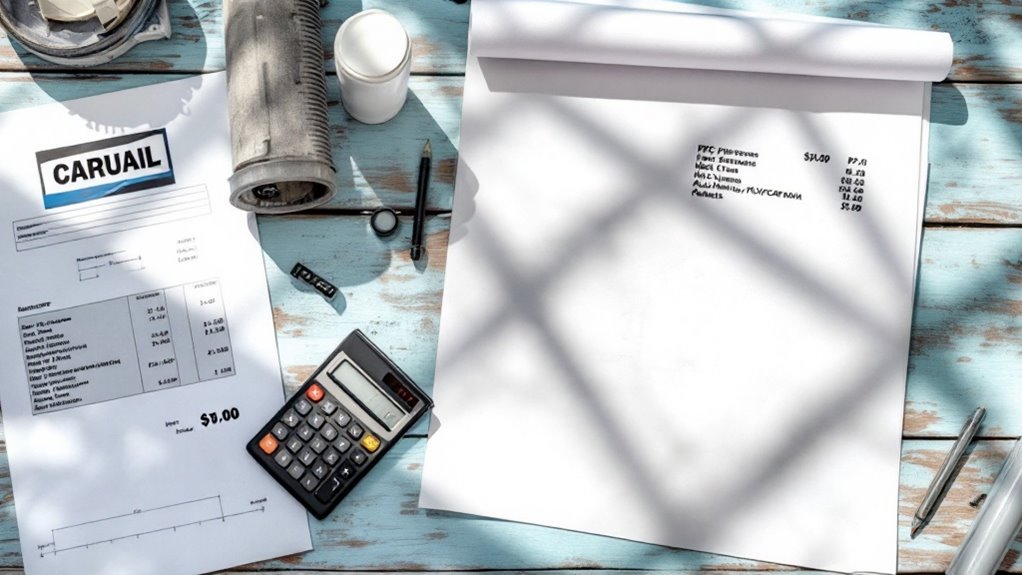
Building a pool enclosure doesn’t have to drain your savings account like a leaky pool. With careful planning, you’ll typically spend between $2,500 and $4,000 for a DIY screen enclosure, compared to $10,000+ for professional installation.
Break down your budget into three main categories: framework ($800-1,200), screening materials ($600-900), and hardware/accessories ($400-600).
Don’t forget to factor in tool rentals if you’re not already equipped – they’ll run you about $200-300 for the project duration.
Want to save even more? Consider shopping during off-season sales, buying materials in bulk with a pool-owning neighbor, or checking local building supply auctions.
Just remember, while penny-pinching is great, don’t swim in dangerous waters by choosing ultra-cheap materials that won’t weather the elements.
Preparing the Pool Area
Proper preparation of your pool area requires three critical steps that’ll save you headaches down the road.
First, clear a 3-foot perimeter around your pool – those overhanging branches might look pretty now, but they’ll become your enclosure’s worst nightmare later.
Next, you’ll need to level the ground where your enclosure’s frame will sit. Think of it like building a house – would you want your foundation doing the cha-cha? Use a laser level to identify high spots, then dig or fill until you’ve got a surface that’s flatter than a pool table.
Finally, install proper drainage channels around the perimeter – a 2% slope away from the pool should do the trick.
Building the Frame Structure
Once you’ve got your ground properly prepped, it’s time for the fun part – creating your enclosure’s skeleton.
You’ll need 1.5-inch PVC pipes ($2-3 per 10ft), connectors ($1-2 each), and a hacksaw – think of it as adult LEGO with a splash of engineering!
Start by assembling your base frame, connecting PVC pieces in a rectangular shape that’s 2 feet larger than your pool’s perimeter.
Ready to reach for the sky? Install vertical posts every 4 feet, securing them with concrete anchors. These posts will be your structure’s backbone.
Connect your top frame pieces to form matching rectangles, just like your base.
Wonder why we’re using PVC? It’s lightweight, rust-proof, and won’t break the bank – perfect for DIY warriors who want durability without spending a fortune.
Installing Support Posts and Anchors
Securing your support posts demands careful attention – they’re literally the backbone that’ll keep your pool enclosure standing tall through rain and shine. You’ll need to dig holes at least 2 feet deep, making certain they’re below your area’s frost line.
| Post Type | Depth (ft) | Cost ($) |
|---|---|---|
| Steel | 2.5 | 45-60 |
| Aluminum | 2.0 | 35-50 |
| Wood | 3.0 | 25-40 |
Ever wondered why concrete footings matter so much? Think of them as your enclosure’s shoes – they keep everything stable and prevent any unwanted wiggling. Pour your concrete mix into each hole, then use a post level to verify everything’s perfectly straight.
Don’t skip on quality anchors – they’re your best insurance against those pesky wind gusts that love to test your handiwork. You’ll want galvanized steel J-bolts rated for at least 2,500 pounds.
Adding Screen Panels and Mesh
With your frame firmly anchored, it’s time to make your enclosure really shine with screen panels and mesh.
You’ll need high-quality fiberglass screen mesh (around $2-3 per square foot) and rubber spline ($15 per roll) to secure everything properly.
Start at one corner and roll out your mesh across the frame sections, pulling it drum-tight as you go. Ever tried wrapping a present perfectly? This is similar, but with more lasting results!
Use your spline roller tool ($8 at hardware stores) to press the rubber spline into the frame channels, securing the mesh.
Work methodically around your enclosure, checking for snags or loose spots. Remember to overlap seams by at least an inch, and don’t forget to reinforce high-stress corners with additional spline.
Ready to keep those pesky bugs out while letting the breeze flow through?
Weather Sealing and Protection
Because Florida’s intense weather can quickly damage an unprotected pool enclosure, proper weather sealing is absolutely essential for longevity.
You’ll need to apply a high-grade silicone sealant ($8-12 per tube) along every frame joint and connection point. Think of weather sealing like giving your enclosure a waterproof suit of armor.
Start by cleaning all surfaces thoroughly, then apply a continuous bead of sealant where aluminum meets aluminum. Don’t skimp here – one tube typically covers about 25 linear feet.
For extra protection, you’ll want to add rubber gaskets ($15-20 per pack) between your screen panels and framework. These little warriors prevent water from sneaking through and causing premature rust.
Finally, spray all hardware with a clear coat sealant – it’s like sunscreen for your screws!
Maintenance and Care Tips
Regular maintenance will keep your DIY pool enclosure looking pristine for years while preventing costly repairs down the road.
Think of it as giving your pool’s protective bubble a spa day – a little TLC goes a long way!
- Inspect the frame and fasteners monthly, tightening any loose screws and replacing rusty hardware (about $15-20 for basic replacement parts)
- Clean the panels quarterly with a mild soap solution and soft brush – your enclosure should sparkle like morning dew on glass
- Check weather stripping and seals every 6 months, applying silicone lubricant ($8-12) to prevent sticking
Don’t forget to trim any nearby branches or vegetation that could scratch your enclosure’s surface.
You’ll want to schedule deeper cleaning sessions twice a year, which typically takes about 2-3 hours but saves hundreds in professional servicing.
Conclusion
You’re now ready to enjoy your pool without breaking the bank! This DIY enclosure project hits the nail on the head when it comes to protecting your investment while saving money. With proper maintenance and occasional inspections, your $2,500-$4,000 structure will serve you well for years to come. Remember to check the weather seals seasonally, and you’ll have a worry-free pool space that’s perfect for year-round swimming.