You’ve probably dreamed of building that perfect backyard playground, where your kids can swing, climb, and create memories that’ll last a lifetime. While pre-made playsets can cost upwards of $3,000, you can construct a custom DIY playground for $800-1,500 that’s tailored to your space and your children’s interests. Before you grab that hammer, though, there’s an essential mix of safety standards, material choices, and design considerations that’ll make the difference between a weekend project and a neighborhood attraction.
Essential Safety Guidelines and Standards
Three critical safety standards form the foundation of any DIY playground project: impact attenuation, proper spacing, and age-appropriate equipment selection.
You’ll need to create a fall zone with proper cushioning – think of it as nature’s airbag. For equipment under 4 feet tall, you’ll want 6 inches of protective surfacing ($15-20 per cubic yard), while taller structures require 9-12 inches.
When it comes to spacing, don’t let those swing sets play too close together! Keep equipment at least 6 feet apart, and guarantee there’s a 6-foot fall zone in all directions.
Ever seen a pinball machine? That’s exactly what you don’t want your playground to become.
For age-appropriate choices, you’ll want to separate play areas for tots (2-5) and older kids (5-12), using equipment specifically designed for each group.
Choosing the Right Location and Layout
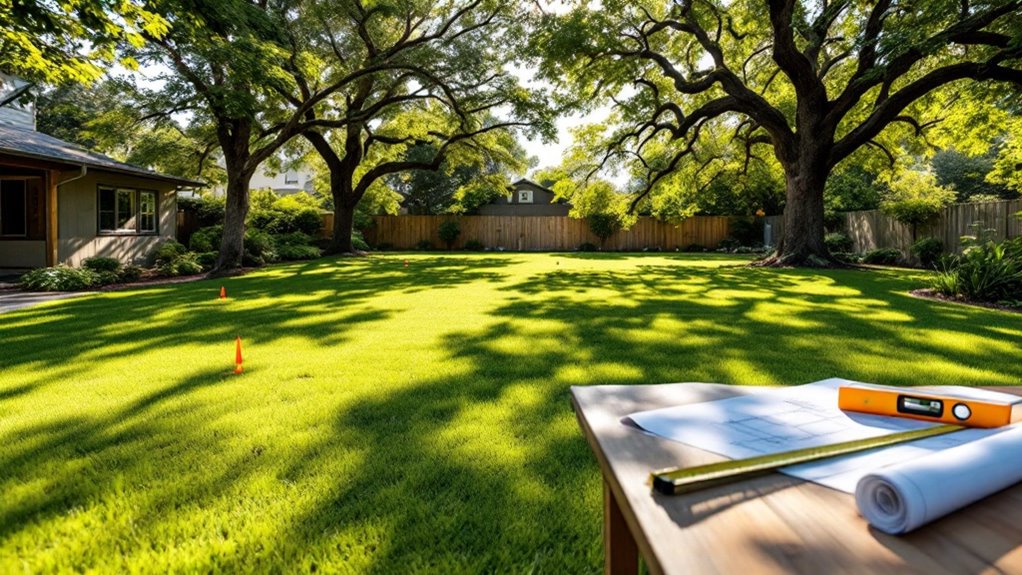
Where you place your playground can make or break its success, so let’s nail down the perfect spot!
You’ll want to scout a level area that’s at least 30′ x 30′, with an additional 6′ safety zone around all equipment. Think of it as creating your own “fun zone” with breathing room.
Consider your yard’s natural features – are there trees for shade? What about drainage after rain?
You’ll want to avoid low spots where water collects, and remember that morning sun is better than afternoon heat for metal equipment.
Your layout should flow like a well-designed park, with active zones for swings separated from quiet areas.
Place high-traffic equipment like slides where you can easily supervise, and don’t forget to check for underground utilities before you start digging.
Those surprise water lines aren’t the treasure hunt you’re looking for!
Materials and Tools You’ll Need
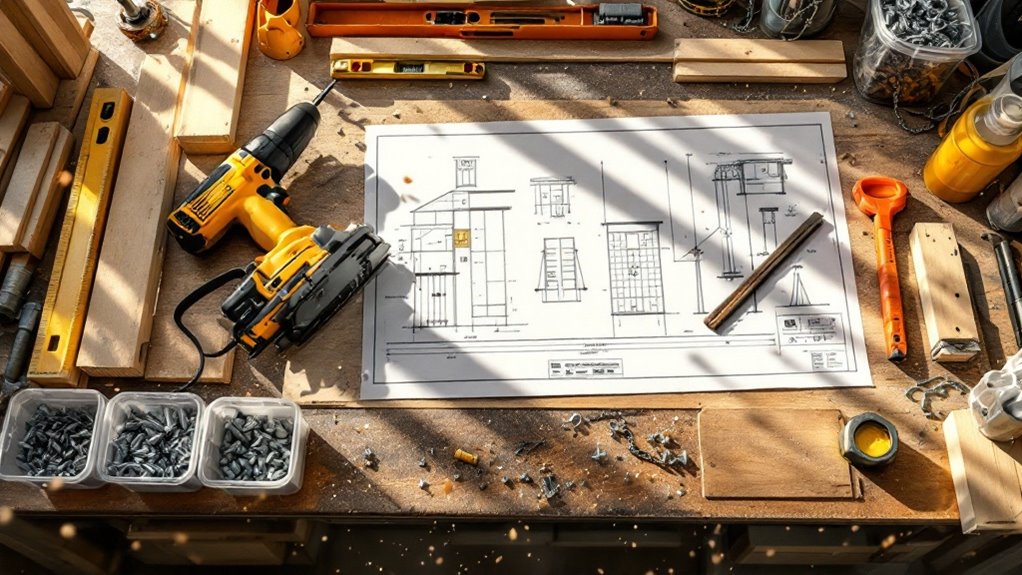
Now that you’ve mapped out your playground paradise, let’s talk about stocking up on the right supplies.
You’ll need pressure-treated lumber ($15-25 per board), galvanized hardware ($50-75), and safety-rated playground surfacing material ($3-5 per square foot) as your foundation materials.
Your essential tools should include a circular saw, drill with various bits, post-hole digger, level, and measuring tape.
Don’t forget your trusty safety gear – those goggles and work gloves aren’t just fashion statements!
For assembling play structures, you’ll want carriage bolts, lag screws, and heavy-duty brackets.
Planning to add swings? Factor in heavy-duty chains ($20-30 per set), commercial-grade swing seats ($25-40 each), and appropriate mounting hardware.
Simple Swing Set Construction Guide
Building a swing set starts with laying a rock-solid foundation, both literally and figuratively.
You’ll want to select a level spot in your yard and dig post holes at least 2 feet deep – remember, like a tree, your swing set needs strong roots!
Ready to transform your backyard into kiddie paradise? Here’s your step-by-step guide:
- Set your 4×4 posts in concrete, ensuring they’re perfectly plumb (level bubble’s your best friend!)
- Install your 2×6 support beam across the top, securing with galvanized carriage bolts
- Add diagonal braces at 45-degree angles for stability
- Attach heavy-duty swing hangers rated for 500+ pounds
- Test everything with your own weight before letting the kids swing
The total cost runs about $200-300 for a basic two-swing setup, and you’ll have it done in a weekend.
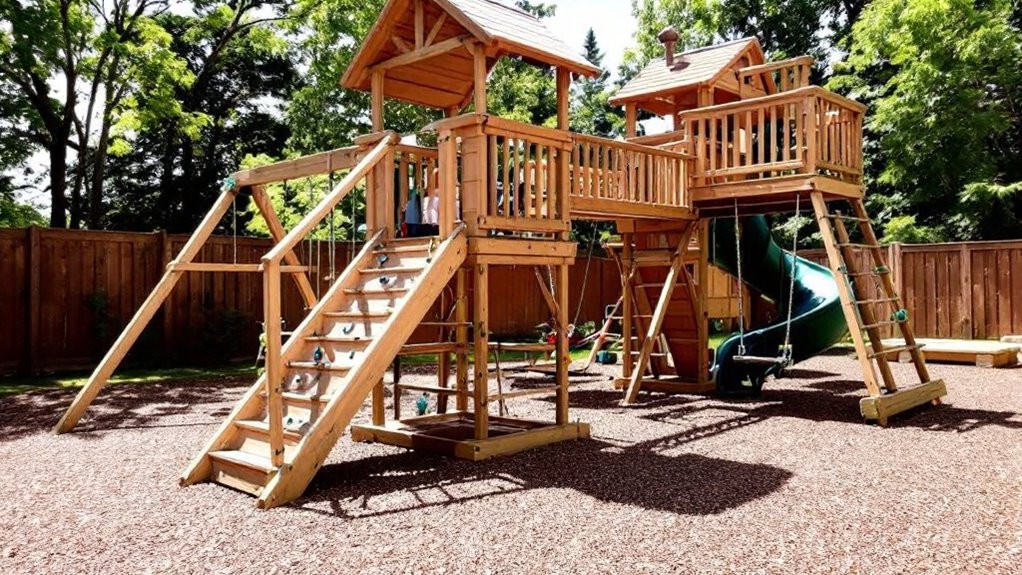
Building a Multi-Level Play Fort
Three levels of pure backyard adventure await with a multi-level play fort – the ultimate DIY project that’ll make you the neighborhood’s coolest parent. With proper planning and about $800 in materials, you can transform your backyard into a kid’s paradise that’ll last for years.
| Level | Features | Safety Requirements |
|---|---|---|
| Top | Telescope, Flag pole | 42″ railings |
| Middle | Slide, Windows | Non-slip flooring |
| Ground | Climbing wall, Door | Impact padding |
| Base | Support posts | Concrete footings |
Before you grab that power saw, you’ll need to check local building codes and secure permits. Think of this project as building a tiny house – but way more fun! The fort’s footprint should measure roughly 8’x8′, with each level reaching 6′ in height. You’ll want pressure-treated lumber for the frame and weather-resistant hardware to keep everything shipshape through rain or shine.
Adding Slides and Climbing Features
Imaginative kids deserve equally creative climbing adventures, and that’s exactly what you’ll achieve by adding slides and climbing elements to your backyard fort.
You’ll want to invest in commercial-grade materials, which typically range from $300-800 for slides and $150-400 for climbing features.
- Install a wavy slide (10-foot minimum) with a gentle 40-degree angle for safe, speedy descents
- Add rock climbing holds ($4-6 each) in challenging patterns across vertical walls
- Mount a rope climbing wall using 3/4-inch braided nylon ($2.50 per foot)
- Include a fireman’s pole ($125-175) for quick exits and endless entertainment
- Create a cargo net climb ($80-120) using weather-resistant rope and secure anchors
Remember to position features strategically – you wouldn’t want that awesome slide pointing toward your prized rose garden, would you?
Always maintain a 6-foot safety zone around each element.
Ground Preparation and Surfacing Options
While those exciting playground features will keep kids entertained for hours, what’s underneath their feet matters just as much.
You’ll need to start by excavating 4-6 inches of soil, ensuring proper drainage with a 1-2% grade slope away from play areas.
For surfacing, you’ve got several budget-friendly options. Engineered wood fiber, at $3-5 per square foot, acts like nature’s cushion and meets safety standards for falls up to 10 feet.
Rubber mulch, though pricier at $8-12 per square foot, lasts longer and won’t give kids splinters – think of it as an investment in fewer “ouchies.”
Want to go premium? Poured-in-place rubber surfacing ($15-20 per square foot) creates a seamless playground paradise that’ll weather whatever your little tornados throw at it.
Maintenance and Weather Protection Tips
Even a well-built playground needs regular TLC to keep the fun rolling safely through the seasons.
You’ll want to protect your investment, which typically ranges from $2,000 to $5,000 for a DIY setup, by staying on top of maintenance tasks throughout the year.
- Apply a UV-resistant sealant every 18-24 months to wooden structures ($40-60 per gallon)
- Tighten all hardware monthly with a torque wrench – those monkey swingers can really shake things loose!
- Check rubber and plastic components for cracks or wear, especially after temperature extremes
- Clear drainage paths and replace mulch annually (about $6-8 per cubic foot)
- Remove rust spots immediately and touch up metal surfaces with outdoor paint
Conclusion
You’ll find that building your own playground combines the excitement of creating something special with the satisfaction of ensuring your children’s safety. While it requires careful planning and some sweat equity, the reward is worth every splinter and sore muscle. Remember to balance creative vision with practical safety measures, and you’ll soon have a backyard paradise where memories bloom alongside scraped knees and victorious climbing achievements.